Prerequisites
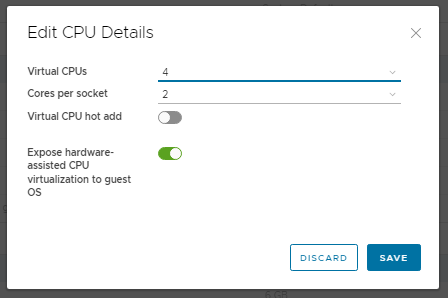
Enable Hardware Virtualization (vCloud Director):
-
Navigate to your macOS VM in vCloud Director
-
Click Details → Hardware → Compute → Edit

Enable "Expose hardware-assisted CPU virtualization to guest OS"
Install Homebrew (Package Manager):
/bin/bash -c "$(curl -fsSL https://raw.githubusercontent.com/Homebrew/install/HEAD/install.sh)"
Install Java JDK 8:
brew tap adoptopenjdk/openjdk
brew install --cask adoptopenjdk8
Android Studio Installation
Download & Install:
-
Get the latest version from developer.android.com/studio
-
Open the downloaded
.dmgfile and drag Android Studio toApplications
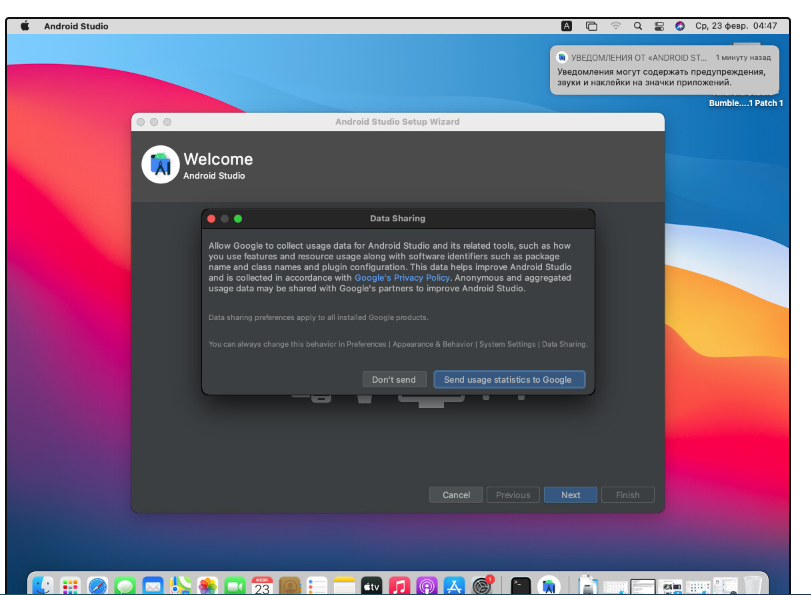
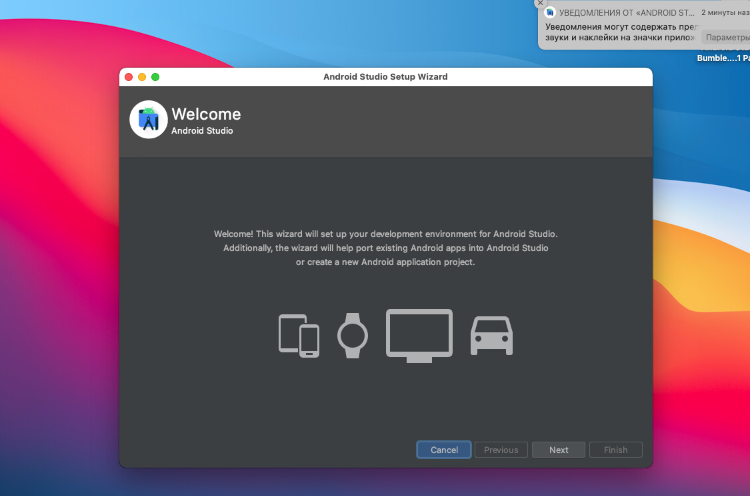
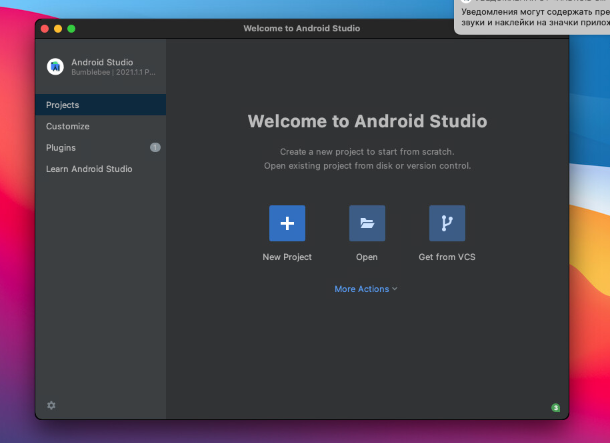
First-Time Setup:
-
Launch Android Studio
-
Choose whether to send usage statistics to Google → Next
Click Next
-
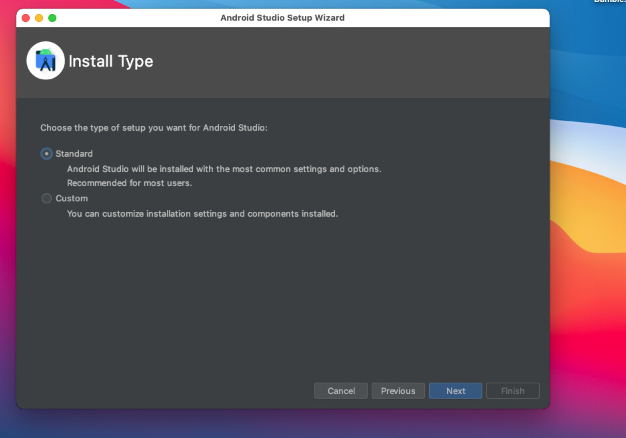
Select installation type:
-
Standard (Recommended for most users)
-
Custom (Advanced configuration)
-
-
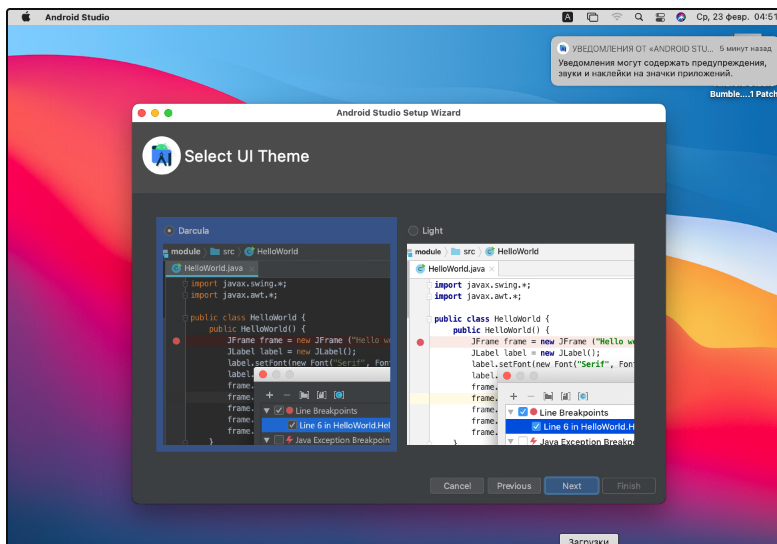
Choose UI theme (Light/Dark) → Next
-
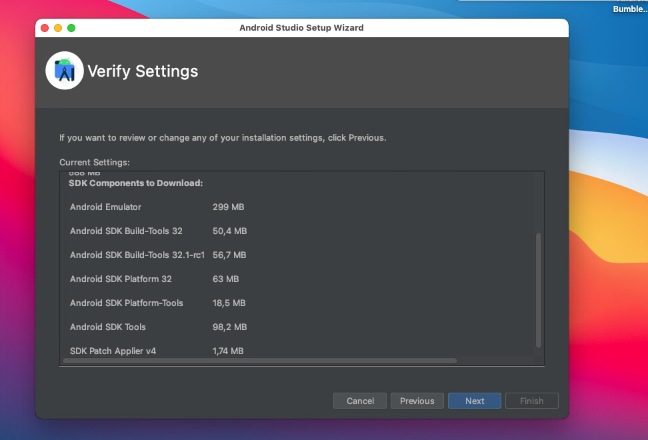
Verify settings → Finish
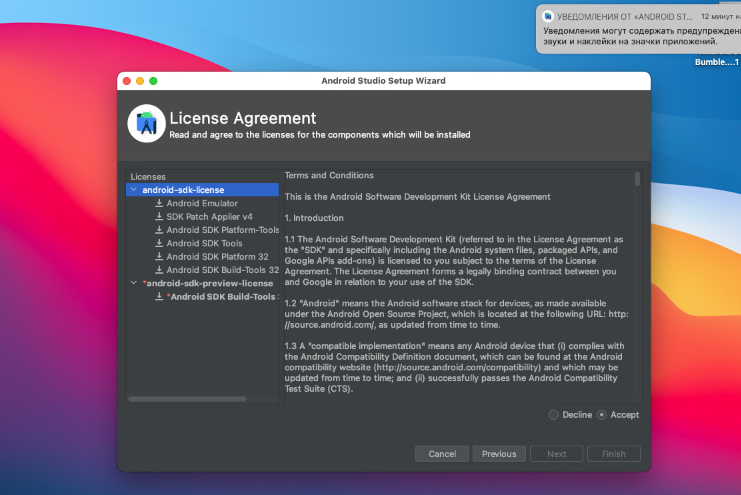
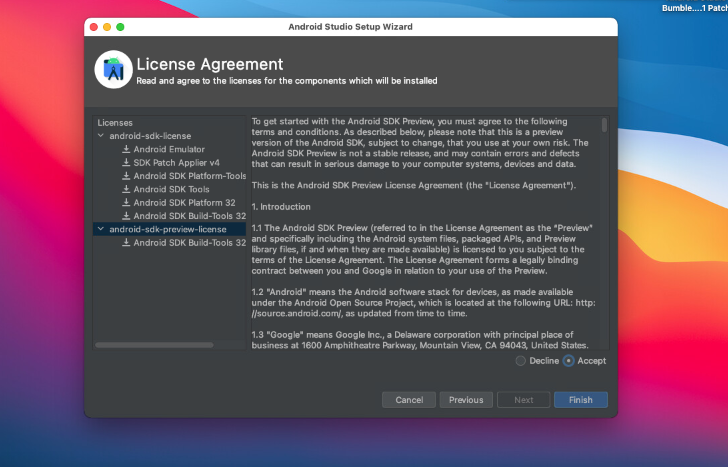
Accept Licenses:
-
Check both:
-
android-sdk-license -
android-sdk-preview-license
-
-
-
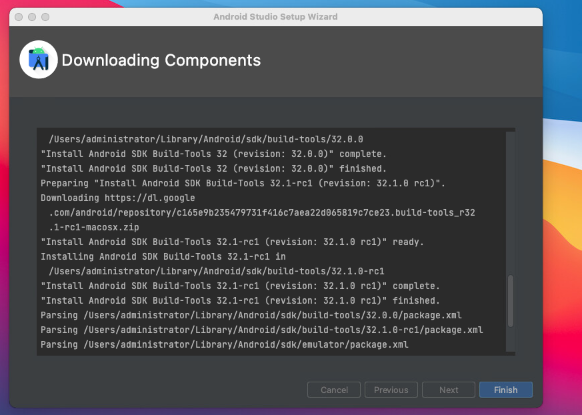
Click Finish to complete setup
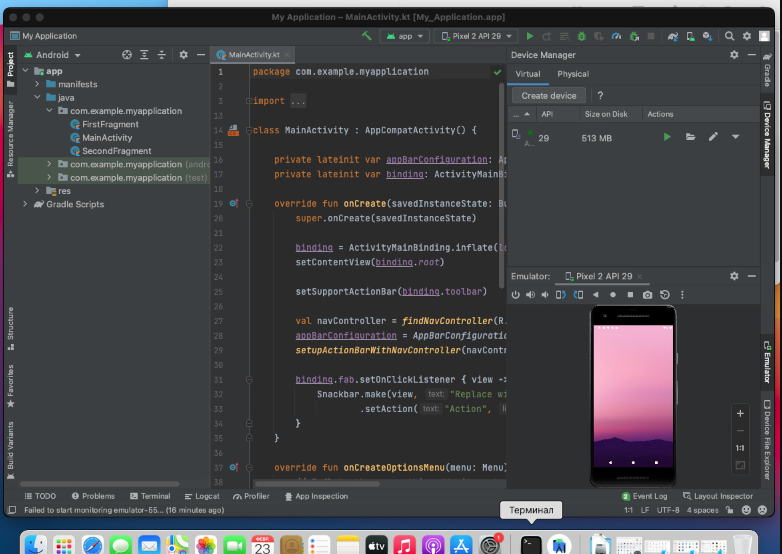
Creating an Android Virtual Device (AVD)
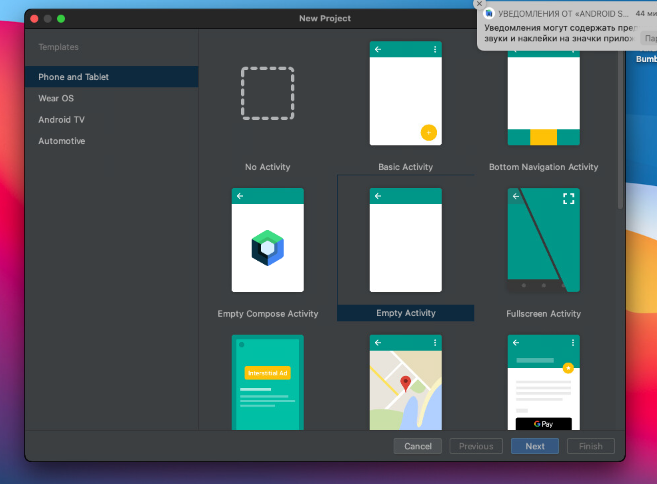
Start a New Project:
-
Click New Project
-
Select Basic Activity → Next
-
Configure project details → Finish
Set Up Emulator:
-
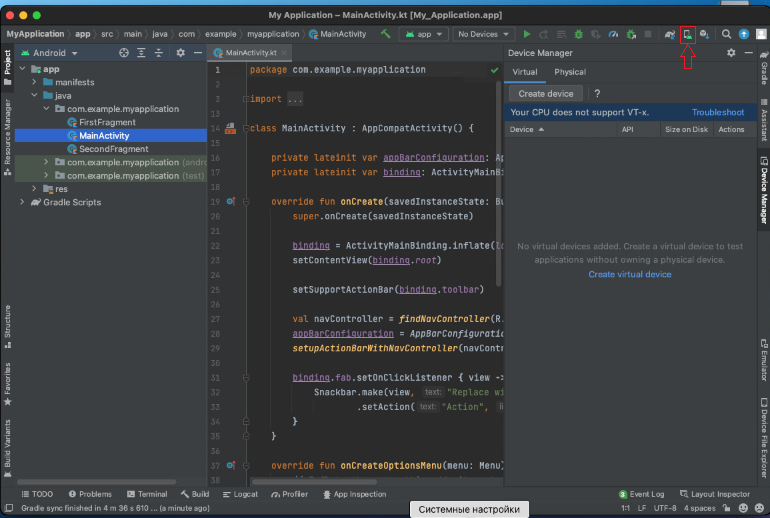
Open Device Manager
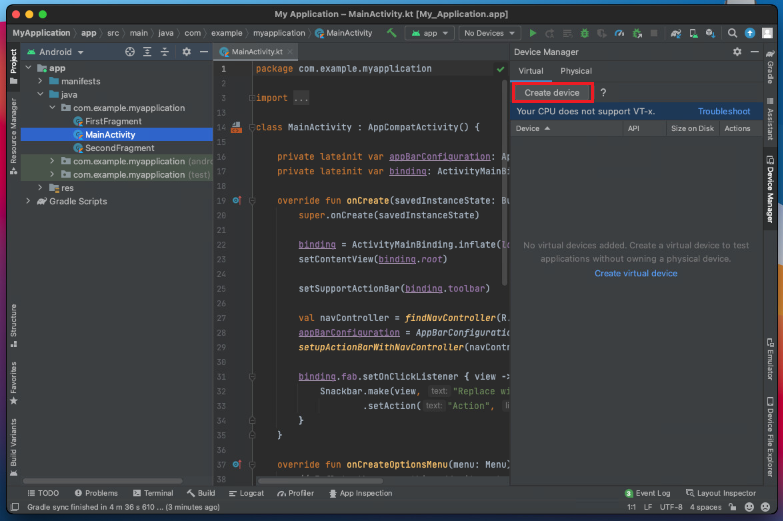
Click Create device
-
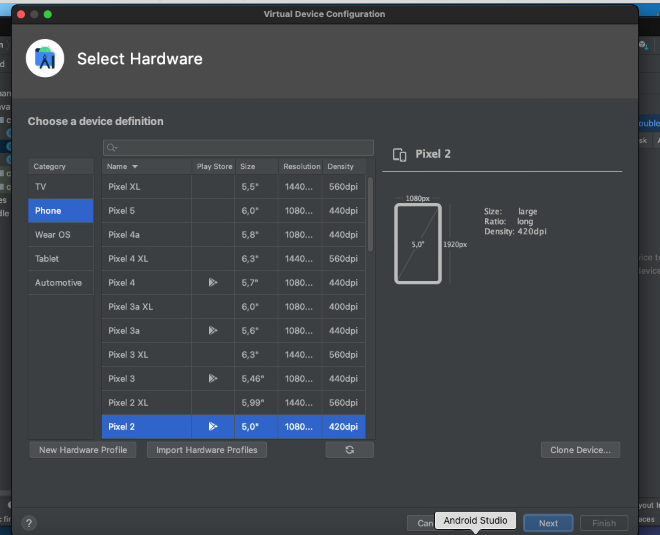
Select hardware (e.g., Pixel 2) → Next
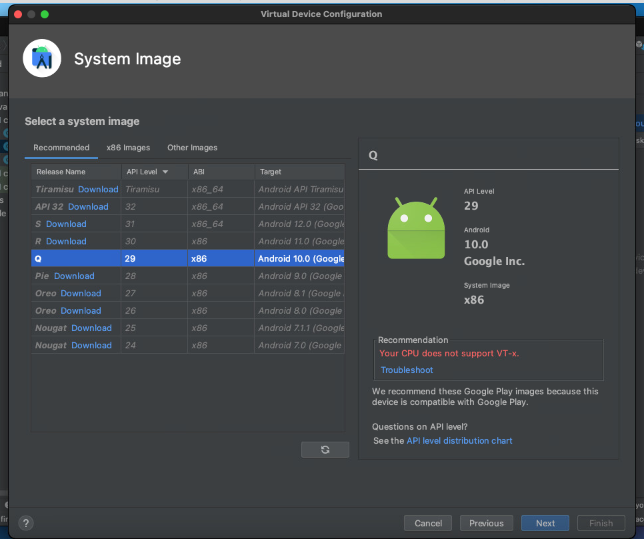
-
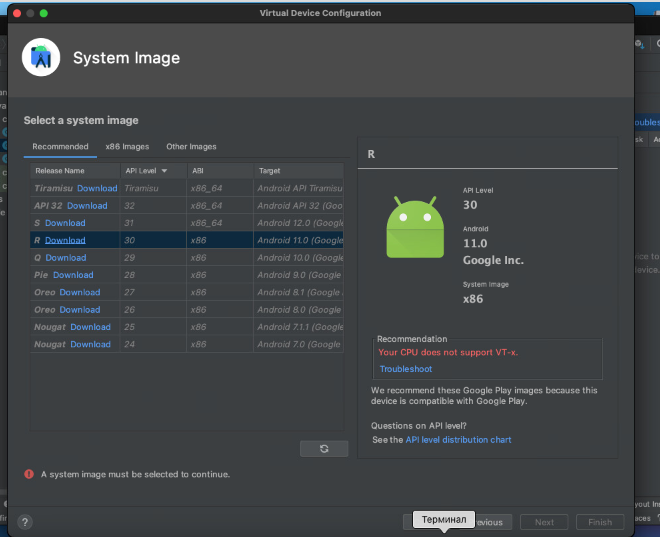
Download system image (e.g., Android 10 Q API 29) → Next
-
Finalize AVD configuration → Finish
Launch Emulator:
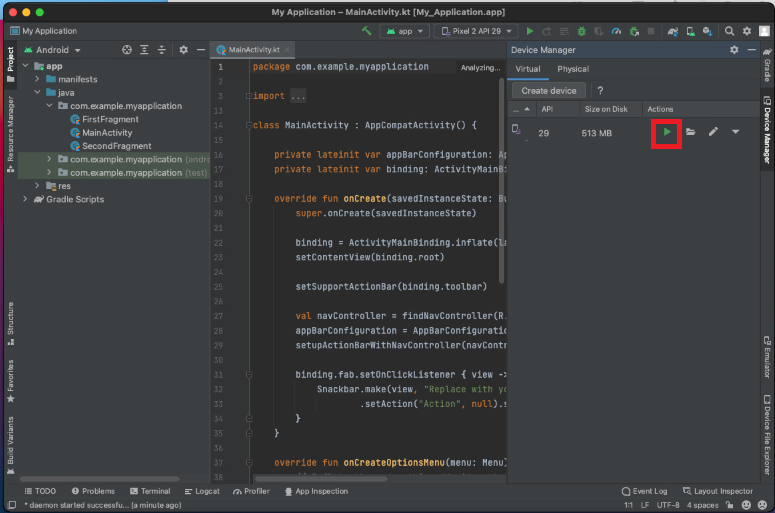
-
Click Launch (▶️ button) in Device Manager
-
Wait for boot completion (3-5 minutes first run)
-
Press the virtual Power button to wake device