Before you start.
A personal video conferencing server based on BigBlueButton technology and CLOUD4U resources allows you to hold meetings, webinars and online sessions with your colleagues and clients. The main advantage is the freedom to manage and plan online events. It is also worth mentioning the security and stability of the service, your data is stored on virtual servers to which only you have access. So, with the right settings on your server, you can be sure that there will be no data leakage, no third party access and no compromise by competitors.
What you need to get started
The first thing you need to do is request a video conferencing server from your manager. Please note that there are minimum requirements for the characteristics of such a server from the BigBlueButton developer:
| The number of participants | minimum required CPU | minimum required RAM | minimum required Storage |
minimum required Internet speed |
|---|---|---|---|---|
| 1-20 | 4 | 8 Gb | 40 Gb | 20 mg bit/sec |
| 20-50 | 8 | 16 Gb | 80 Gb | 50 mg bit/sec |
| 50-100 | 16 | 32 Gb | 120 Gb | 100 mg bit/sec |
We recommend that you choose your resources carefully to ensure that your conferences run smoothly without delays, lags or crashes.
Once you have access to your server and the BBB Control Panel, you are ready to create a new videoconference.
First videoconference
Creating a conference is a fairly straightforward task, and there are a few simple steps you'll need to follow.
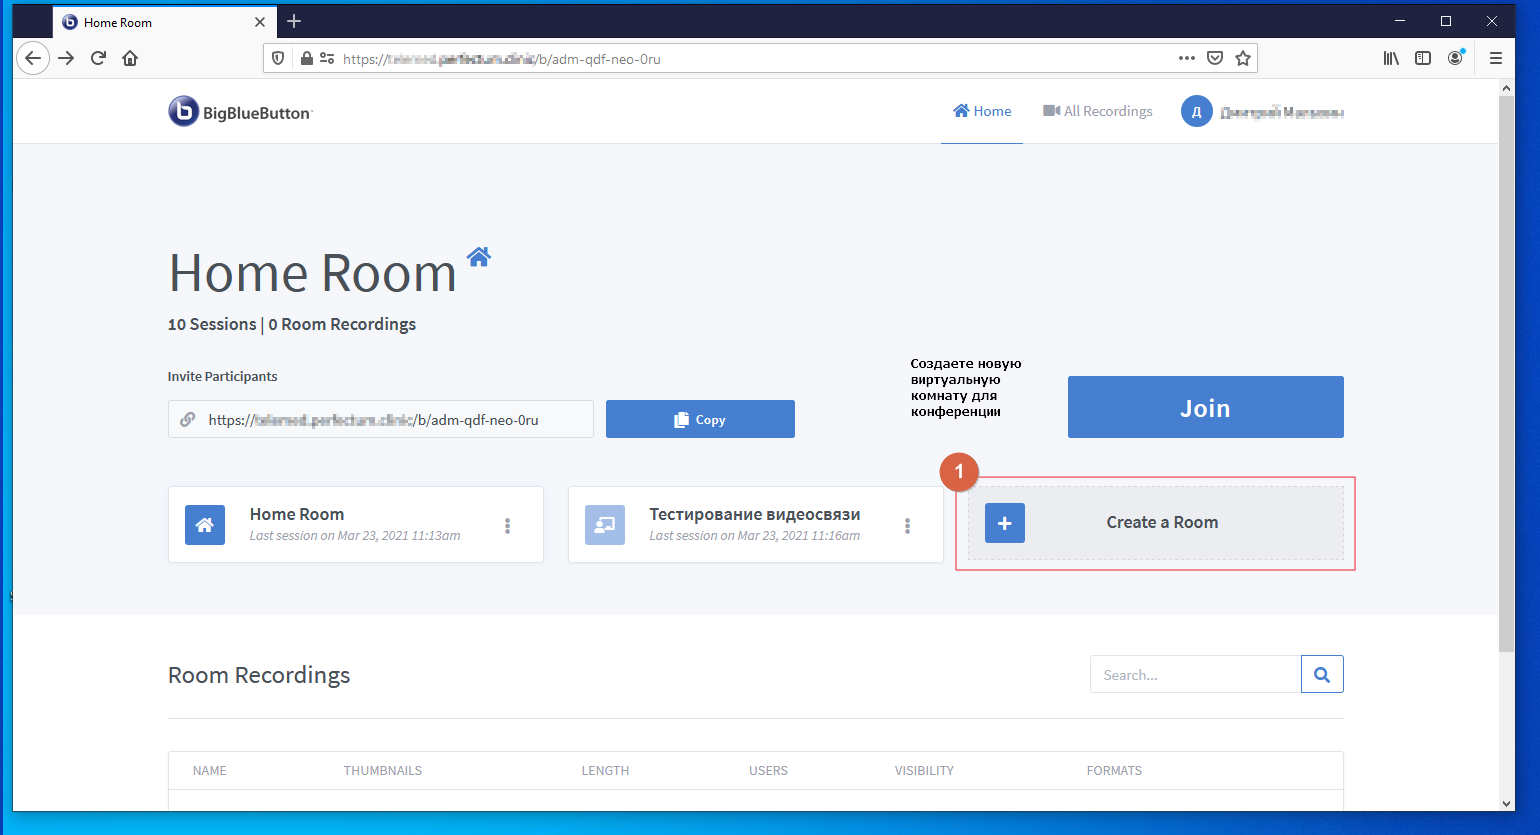
Create a new room.
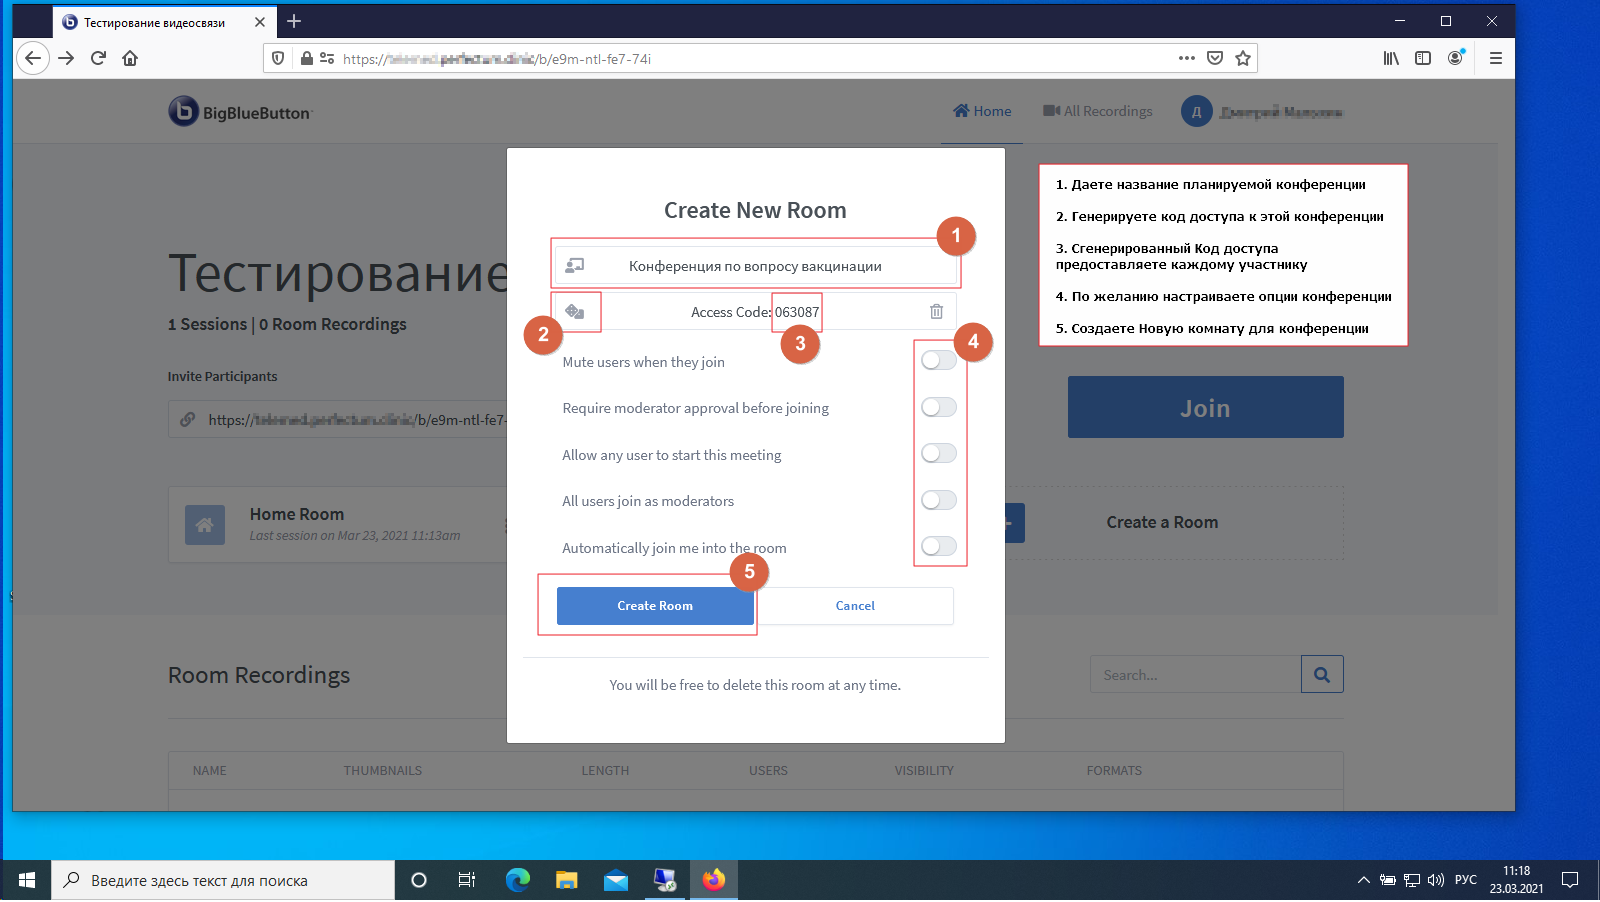
- Set up the new room as shown in the screenshot
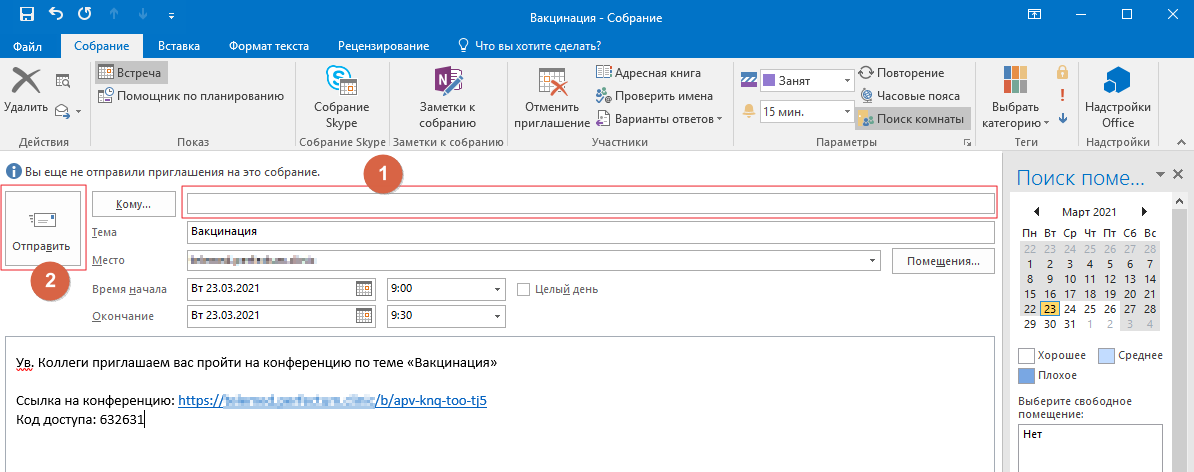
- After creating the room, you need to notify your colleagues about the date and time of the conference. To do this, we recommend creating a meeting in Outlook, and sending a link and an access code to the conference.

- At the agreed time, log into your account on the server, select the room you have created and click "Start".
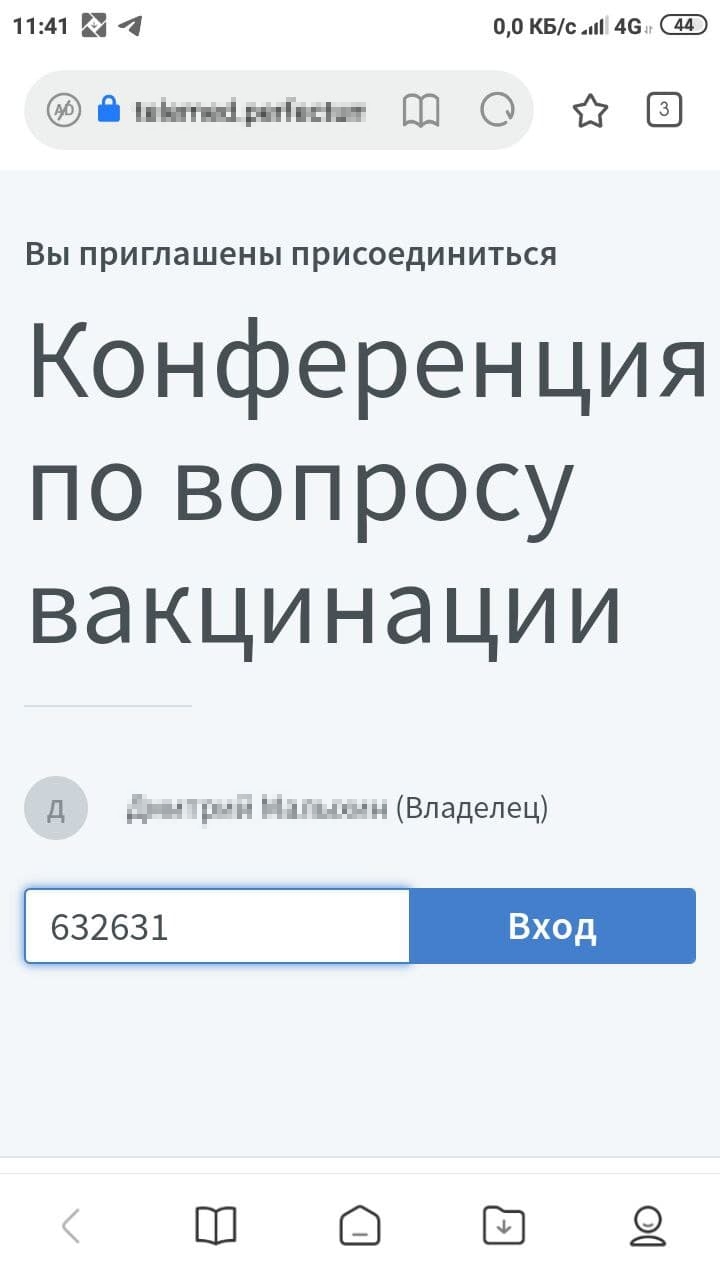
- When the invited participant joins the videoconference via the link, he/she will also have to enter the access code you sent him/her with the link.
Additional options - recording video conferences
It often happens that an employee does not have time to join a conference. Don't despair. You can record a meeting and share the recording with others.
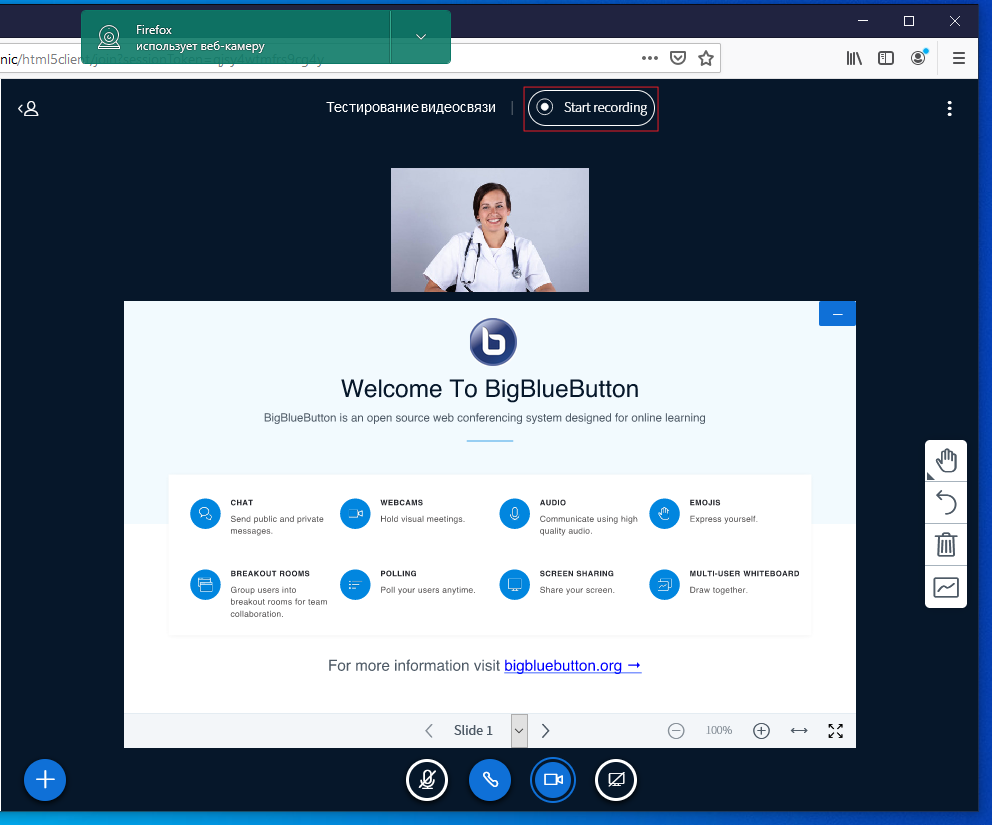
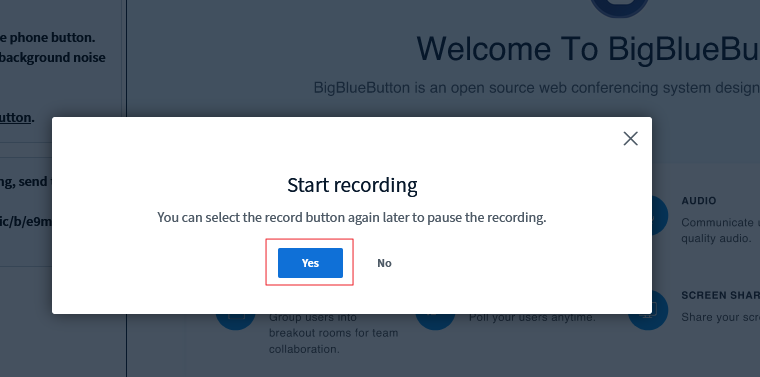
- To record, click the "Start recording" button at the top of the page when the conference starts. When the question "Do I need to start recording?" appears, select "Yes". You do not need to do anything else until the end of the conference. A video recording file will automatically be created and made available in a dedicated area.
- After the conference has finished, the recorded file will be available in the All Recordings section within 10-15 minutes. You can now send a link to the recording to anyone you wish.
This completes the creation of your first videoconference.
