This guide describes how to configure and work with public folders in the SaaS Hosted Exchange service.
- Creating a public folder.
In order to create/modify a public folder, it's required to log in to AP of the HostedExchange service.
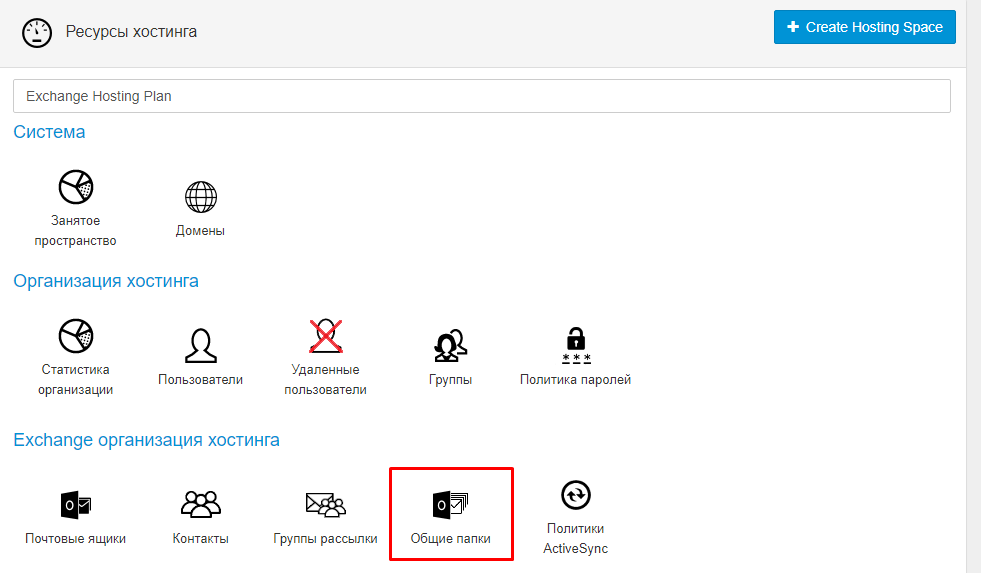
In the main account management window, select Public Folders section. (Fig.1)
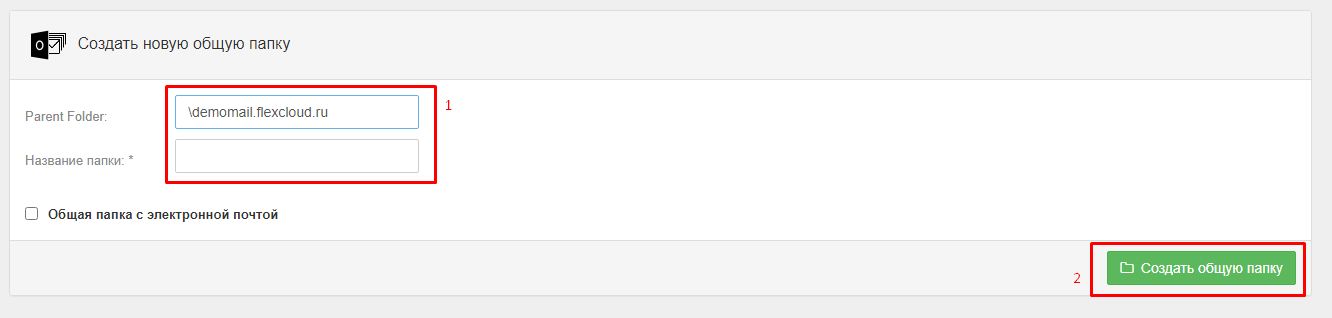
Next, create a new folder, using the create button, specify the root folder. If the folder structure has multiple branches, specify the root folder where the new folder will be created. (Figure 2-3)

After creating a folder, you must make a number of required settings for its correct operation.
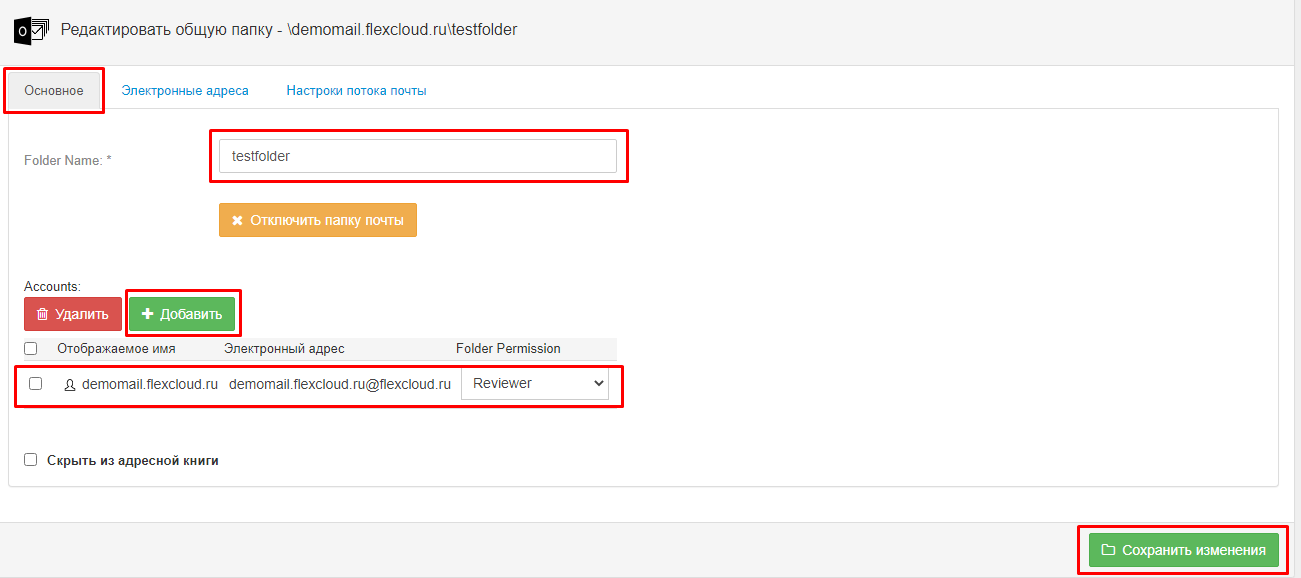
The general settings specify the name of the folder as well as assigning permissions to specific users for this general folder. "Common settings"
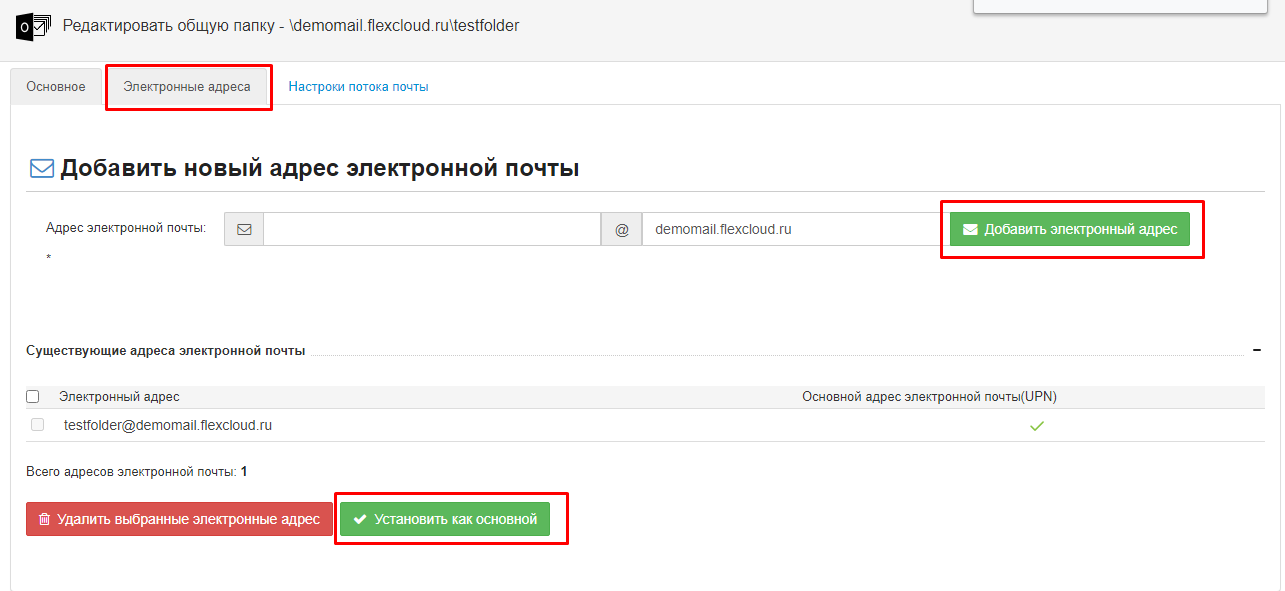
Next, you need to define the e-mail address that will be attached to this shared folder, e-mail addresses can be several (additional), but one of the addresses must be the main. (Fig.5)
The main mailbox of the hierarchy: it is a single copy of the public folder hierarchy available for copying. The public folder hierarchy is copied to all other public folder mailboxes, but these copies will be read-only.
Additional hierarchy mailboxes: contain the contents of public folders and a read-only copy of the public folder hierarchy.
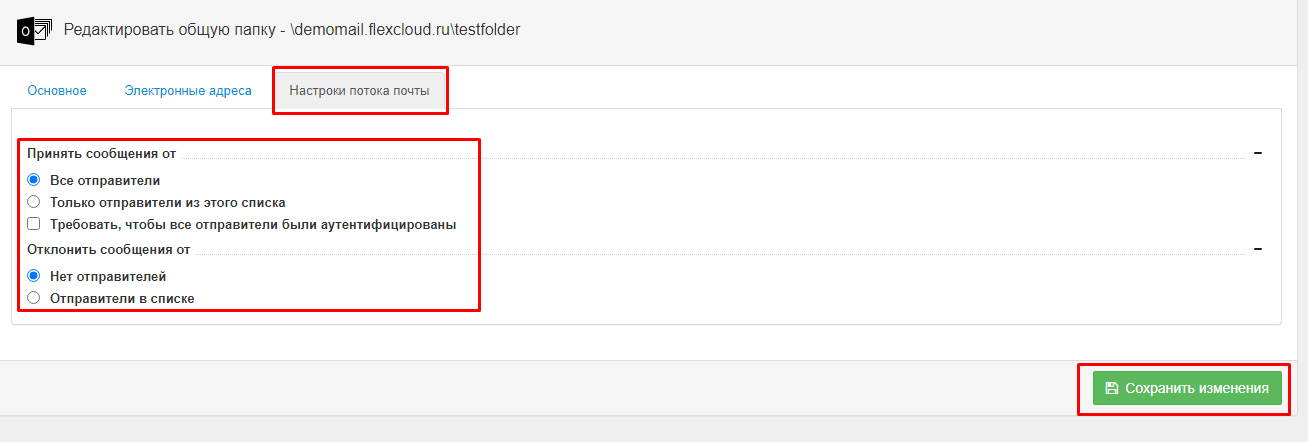
Once the mail addresses for a shared folder are defined and set, you need to define rules for filtering incoming messages.
At this step, the process of creating/editing the public folder is completed and you can now start connecting it to the mail client.
2.Connecting a Shared Folder in OWA
First of all log into your mailbox using your web browser and user credentials.
If this user has not previously been given access to this public folder, then go back to section 3.1 of these instructions and give this user the necessary permissions, otherwise, the user will not be able to add the public folder to their interface.
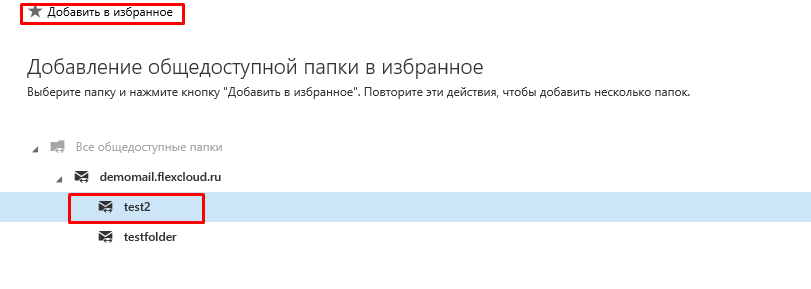
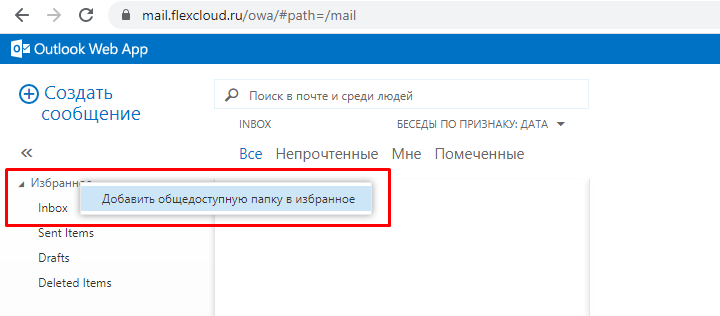
In the public folder structure of the interface move the mouse cursor to "Favorites" and call the context menu by pressing the right mouse button. Select "Add public folder to Favorites".
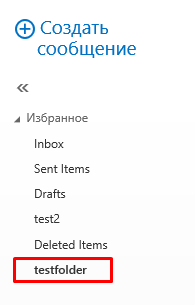
In the opened window, select the necessary folder in the public folder structure and put the "Add to Favorites" icon above, after which the given public folder will appear in the user's directory structure.