Creating Virtual Machines
Follow the instructions to create two virtual machines.
In this guide, the domain controller virtual machine (VM) is called DC1 and the terminal server VM is called TERM1.
Install Active Directory Roles and Components
From the Server Manager, select 'Add Roles and Components'. The Roles and Components Wizard will start.
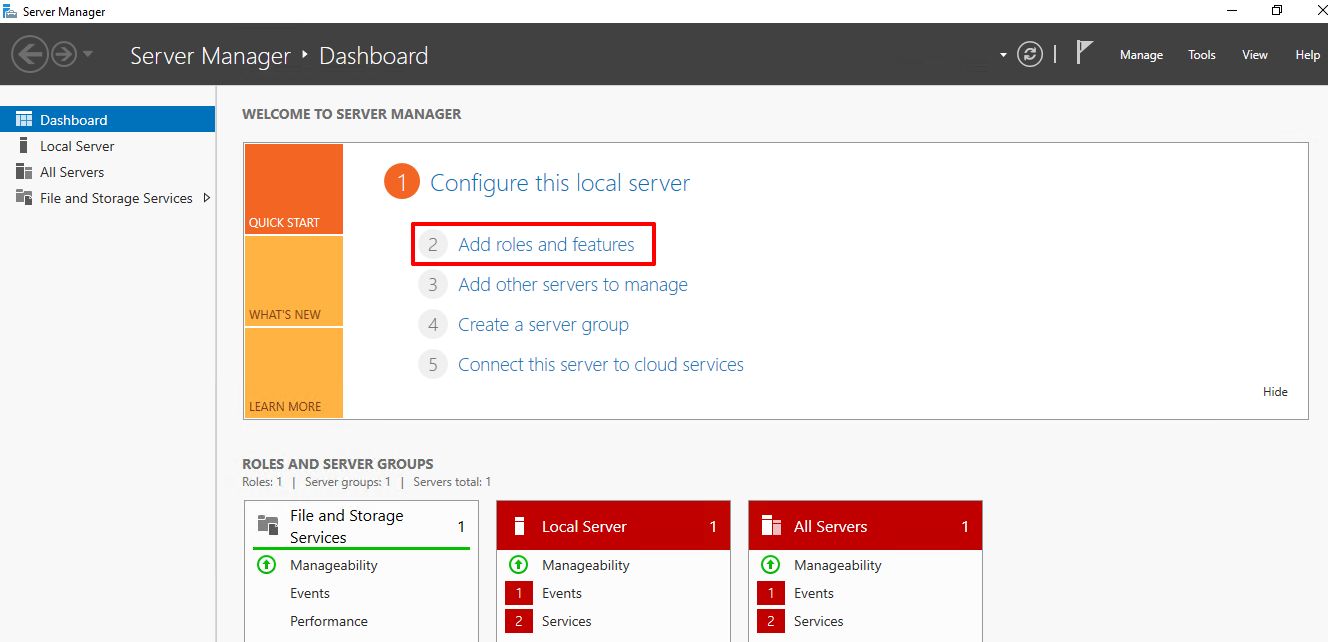

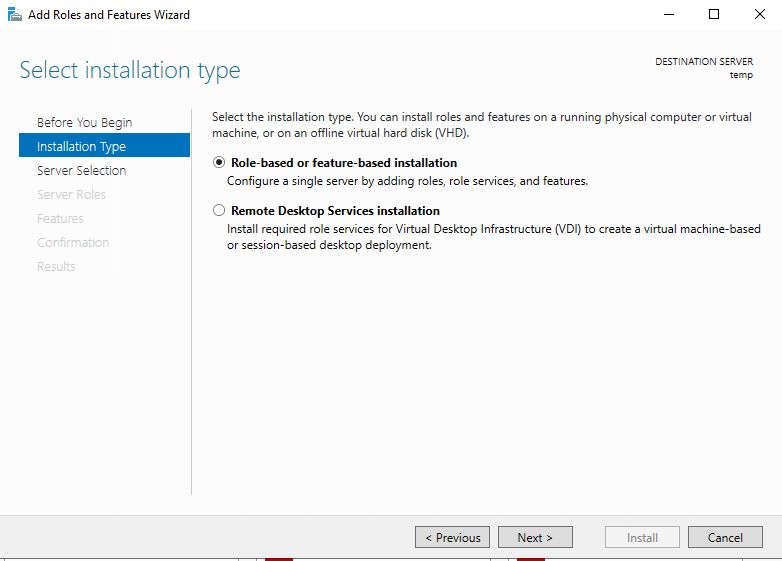
Select the Role-based or feature-based installation installation type.
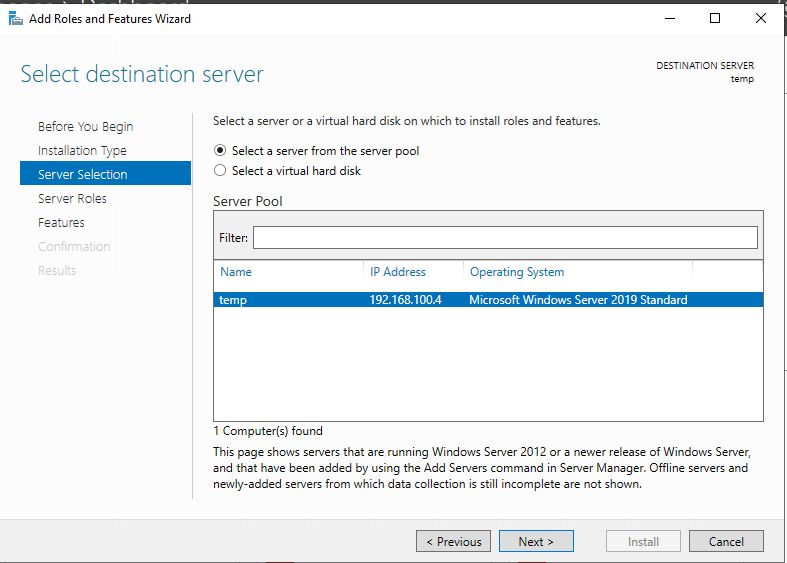
To install the roles, choose by name the DC1 server.
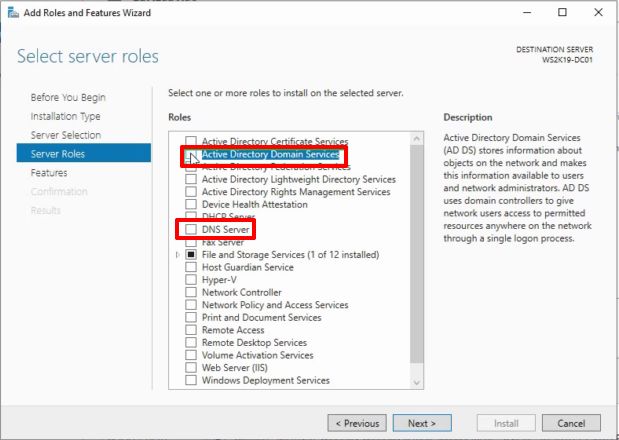
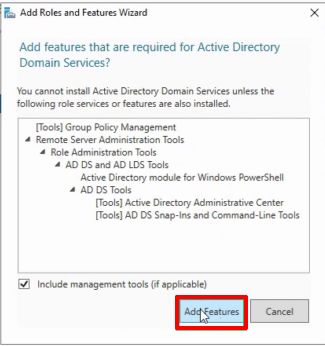
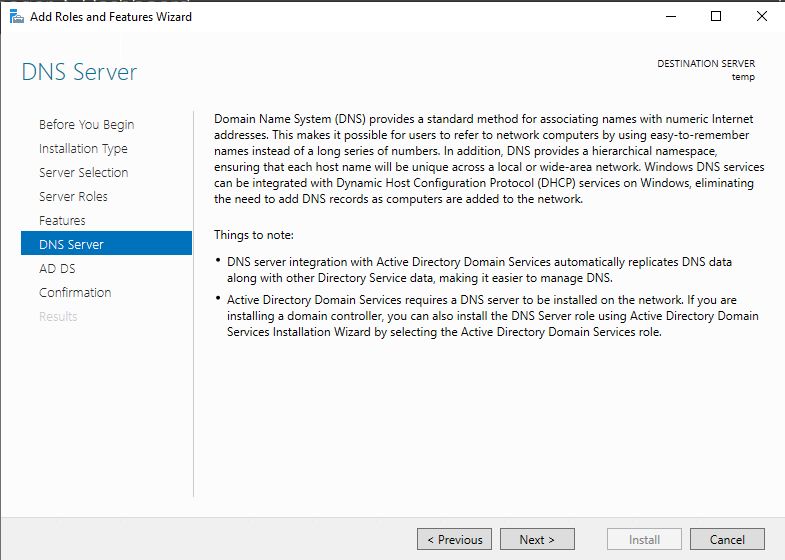
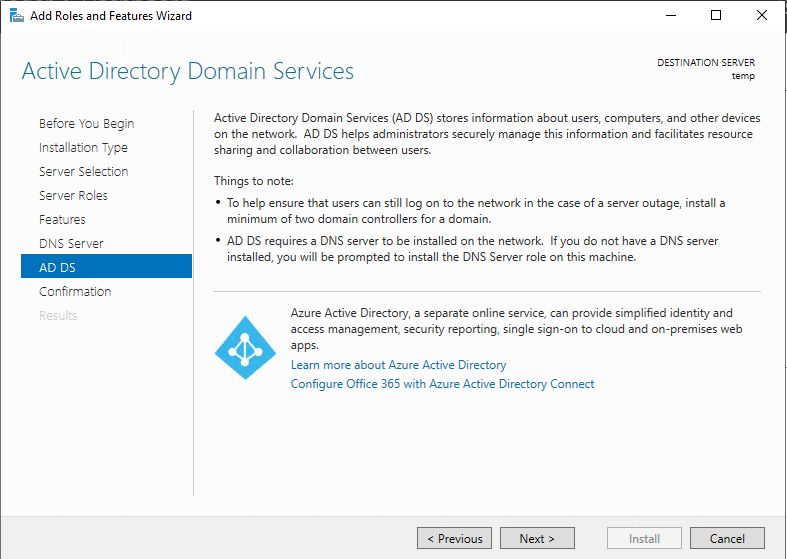
In this example, the domain controller is the first and only one, so select 'DNS Server' and 'Active Directory Domain Services' from the roles. When selecting the roles, the wizard will offer to install the necessary components for the domain services and DNS server. Accept and click Next.
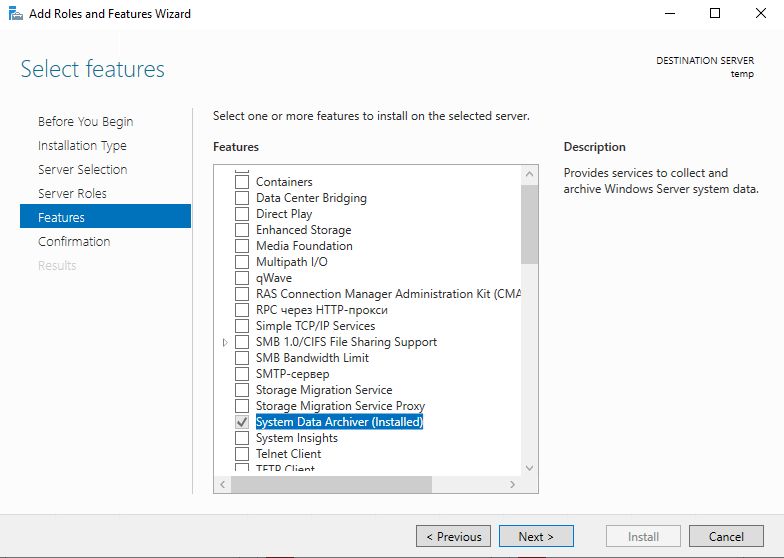
Skip selection of additional features and information messages.

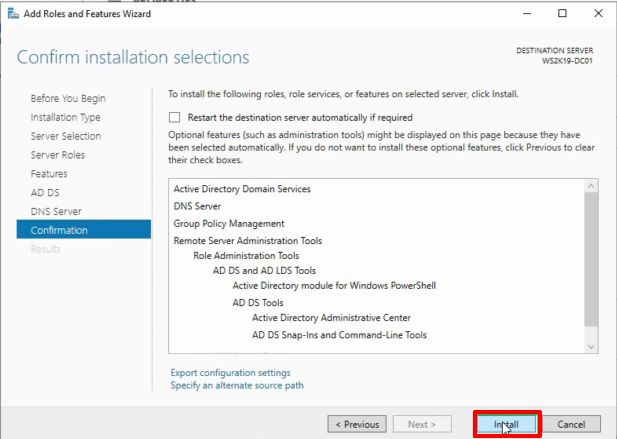
Confirm the installation and wait until it is finished.
Configuring Active Directory Components
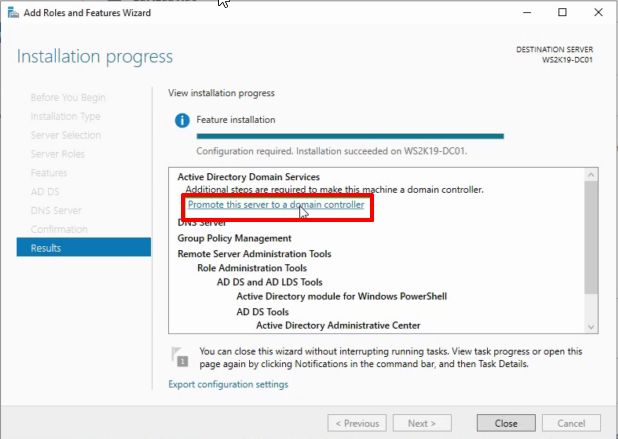
Once you have installed the required roles and components, you need to configure the domain controller.
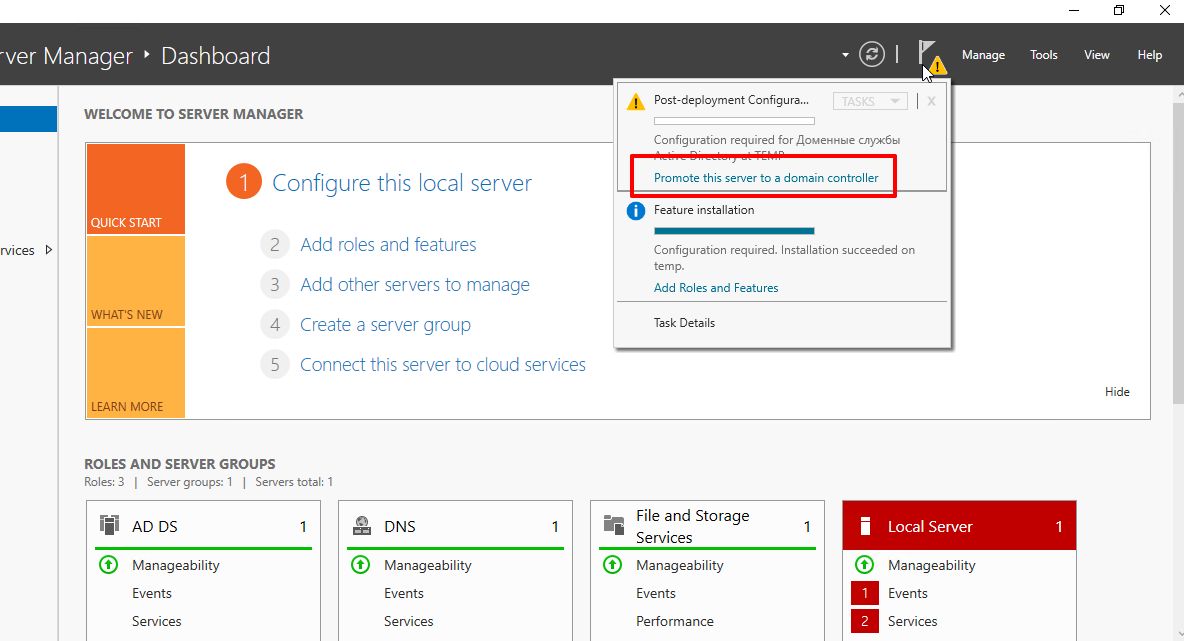
You can access the Domain Configuration Wizard by clicking the link on the installation progress page, or from the Server Manager through the 'Notifications' tab.
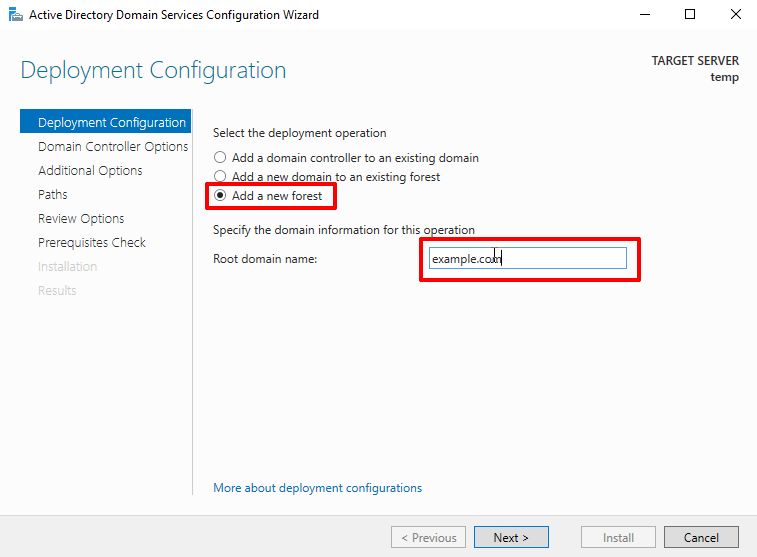
Select the deployment operation. We are deploying a new domain, so select Add New Forest and set the root domain name.
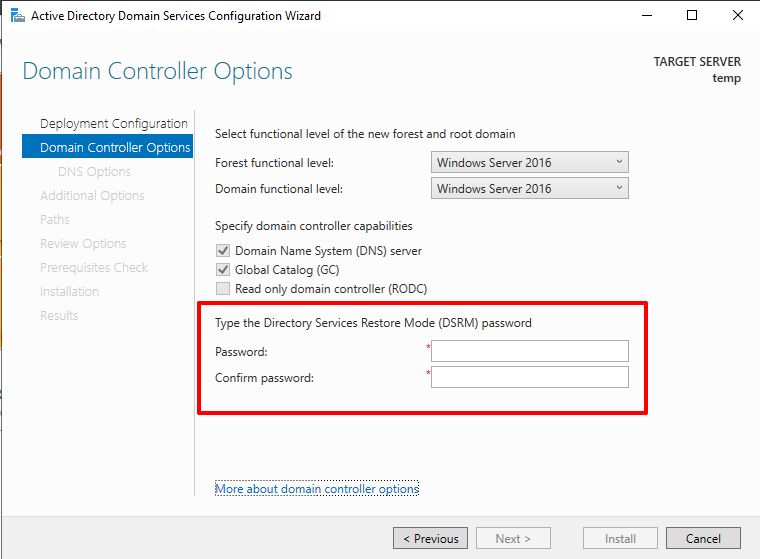
Set a password for Directory Services Restore Mode
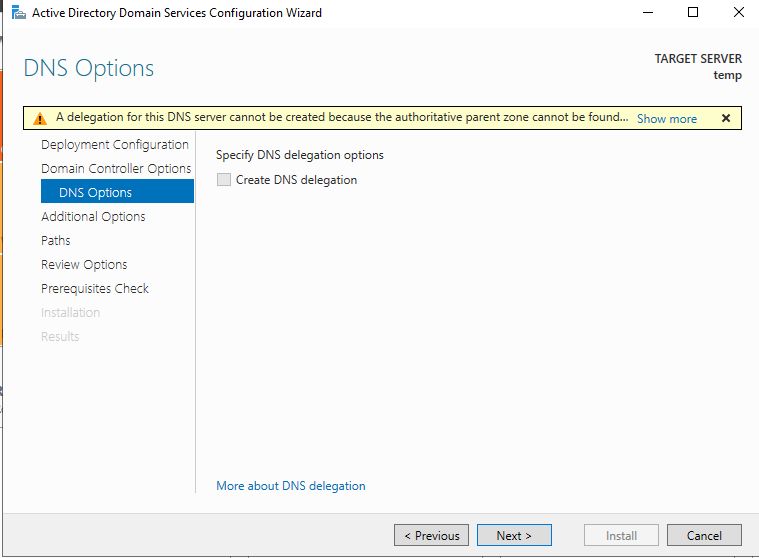
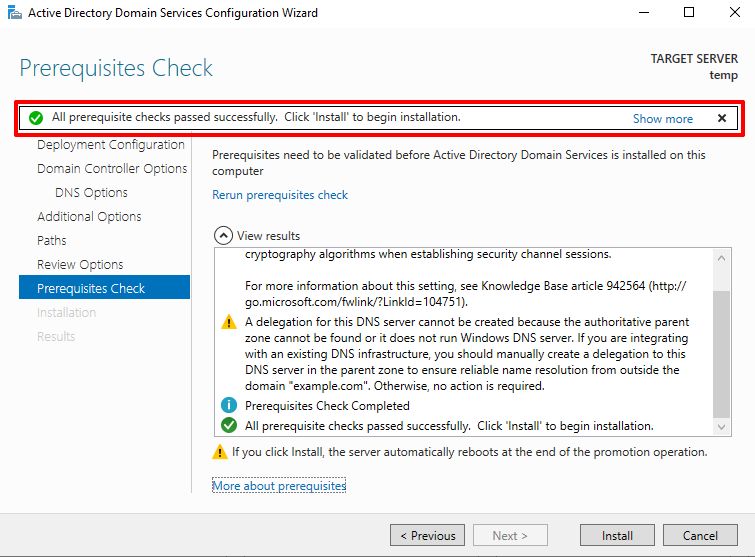
Ignore the message telling you that it is not possible to create a DNS server delegation.
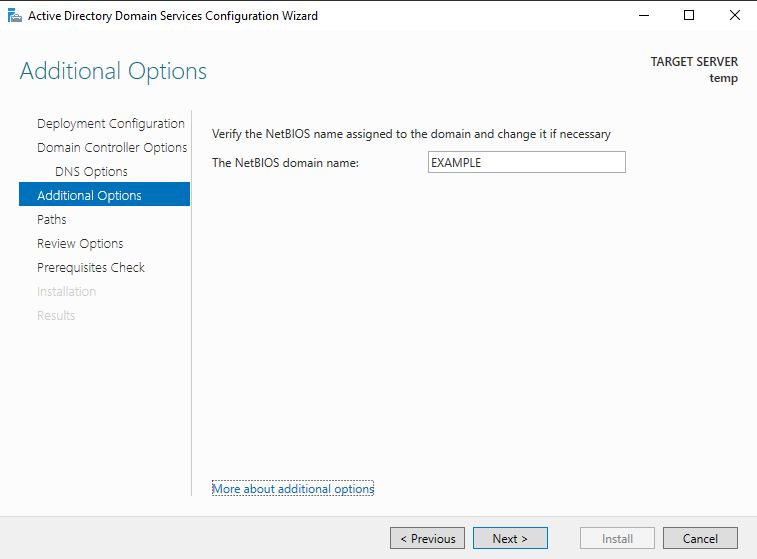
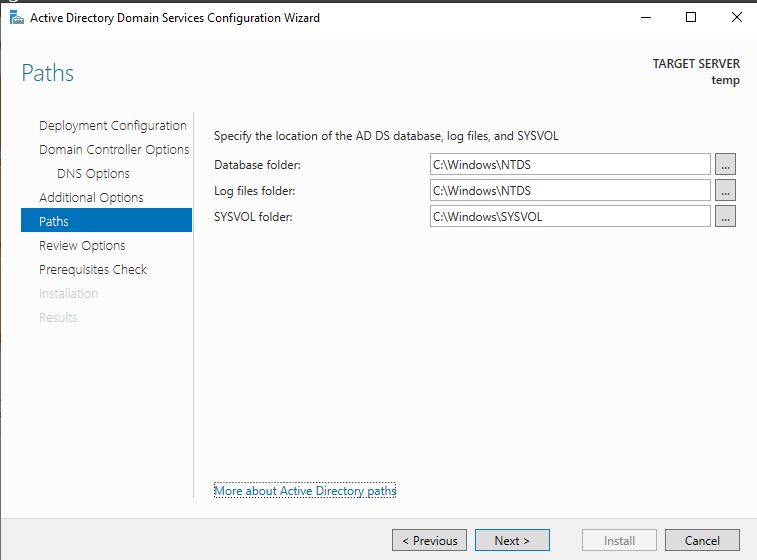
Leave the suggested NetBIOS domain name and default paths.
You can check the selected parameters before setting.
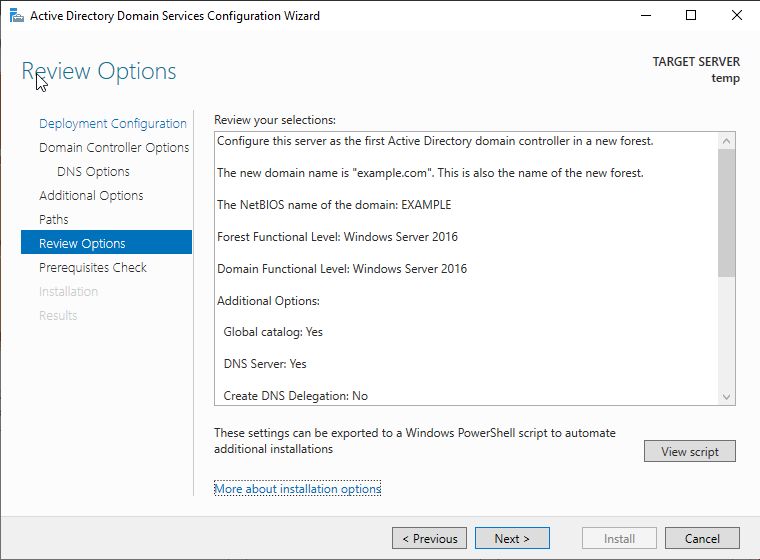
Make sure the check has passed. Click Install.
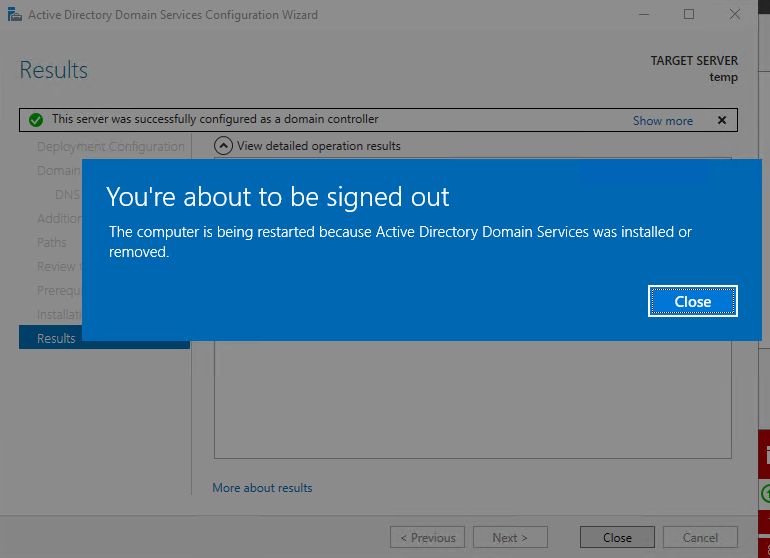
When setup is complete, the system will restart automatically.
After the reboot, log in to the domain administrator account, the domain administrator password will be the same as the local administrator password, which can be seen in the VM properties.
Installing Terminal Server Components
The first step is to add the future Terminal Server to the previously deployed domain.
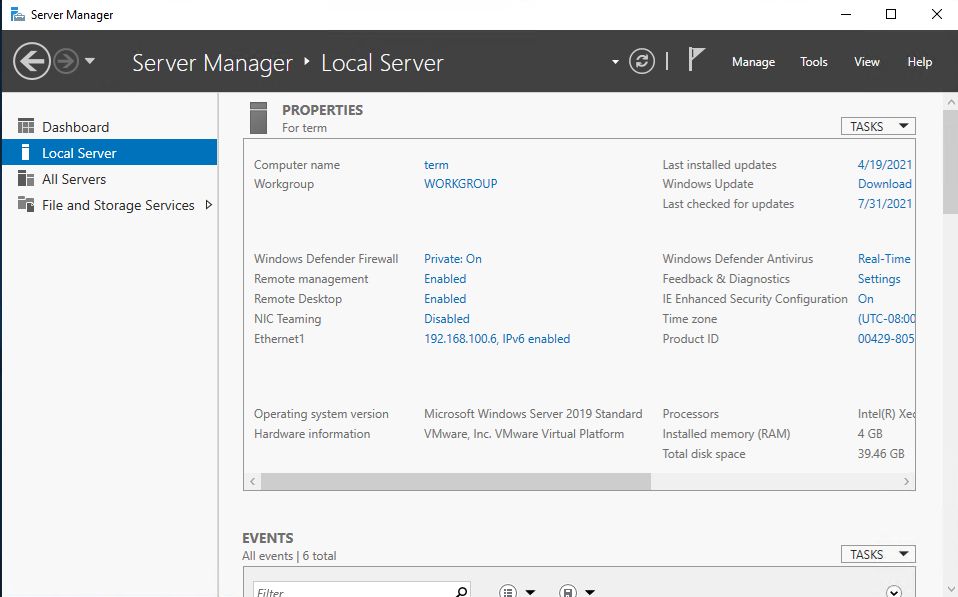
In the Network Connections properties, check that the IP address of the domain controller is specified as the primary DNS server.
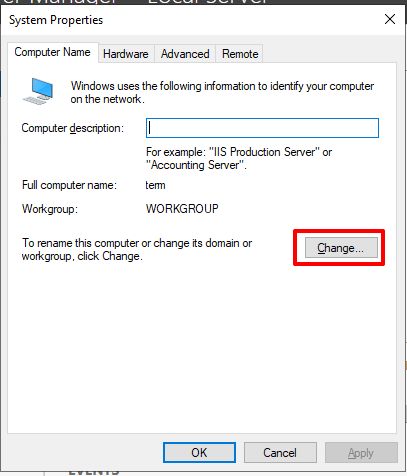
In Server Manager, on the Local Servers tab, click on the workgroup name. By default this is WORKGROUP.
The system properties will open. Click Change.
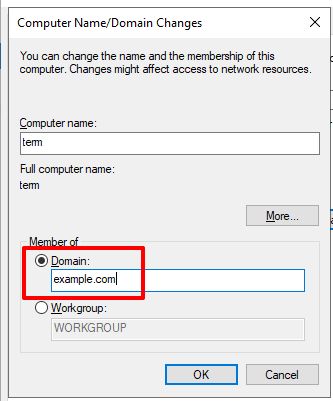
Select member of "Domain" and enter the domain name.
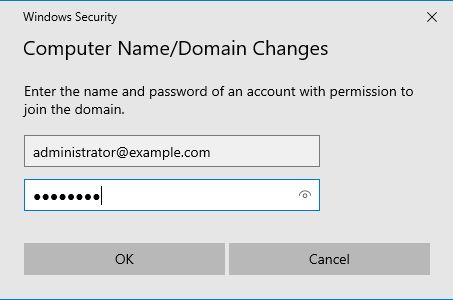
Enter user credentials with domain administrator rights to join the domain.
After you joined the server to the domain, reboot and perform all further actions under the domain administrator account.
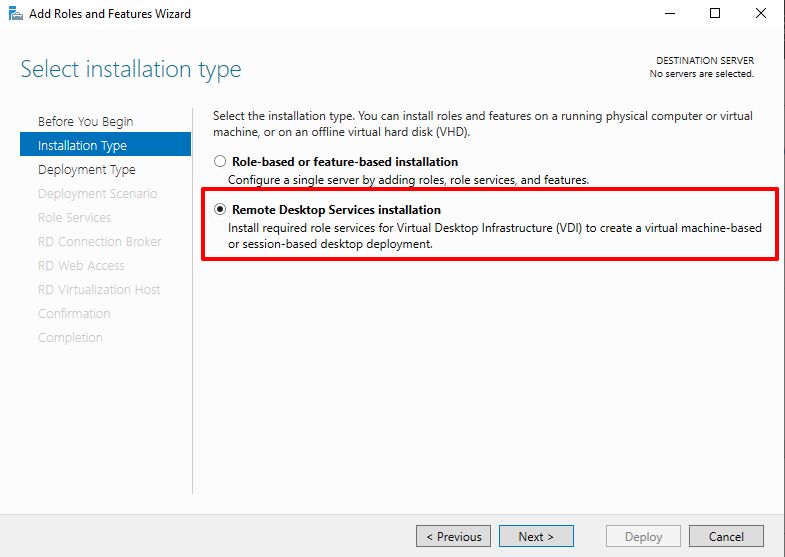
In the Add Roles and Components Wizard, select 'Install Remote Desktop Services' as the installation type.
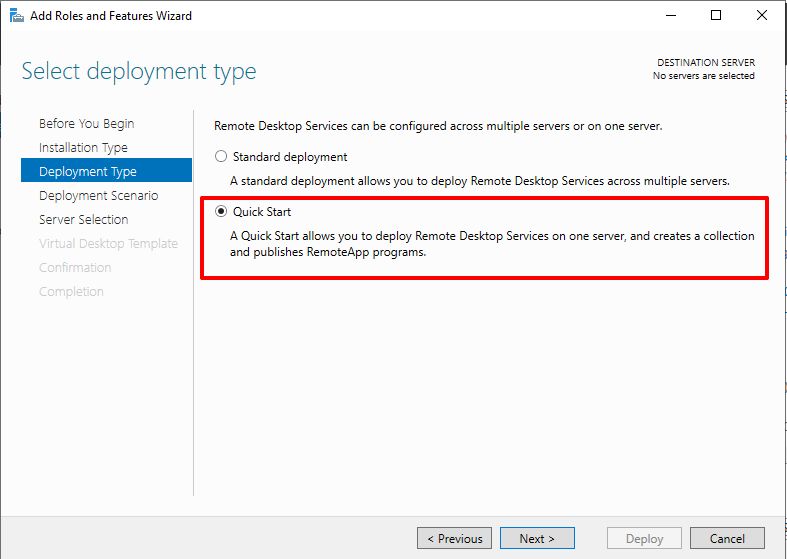
Select deployment type - Quick Start
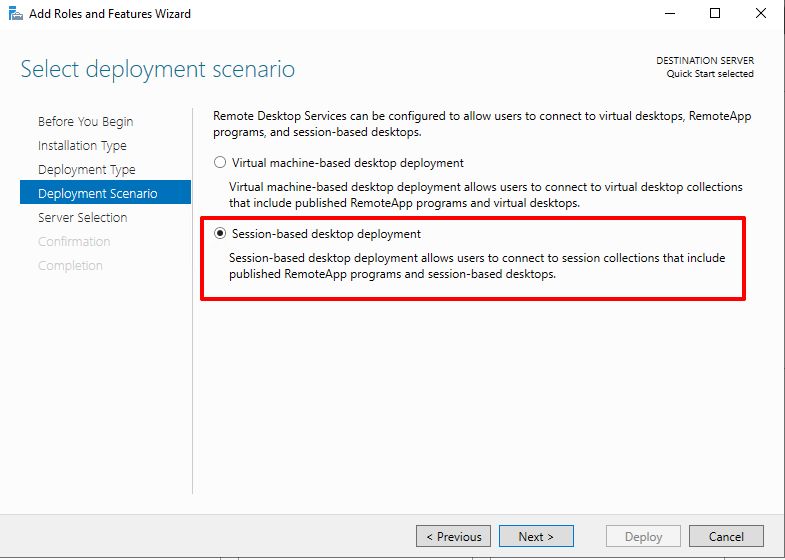
Select deployment scenario - Session-based desktop deployment
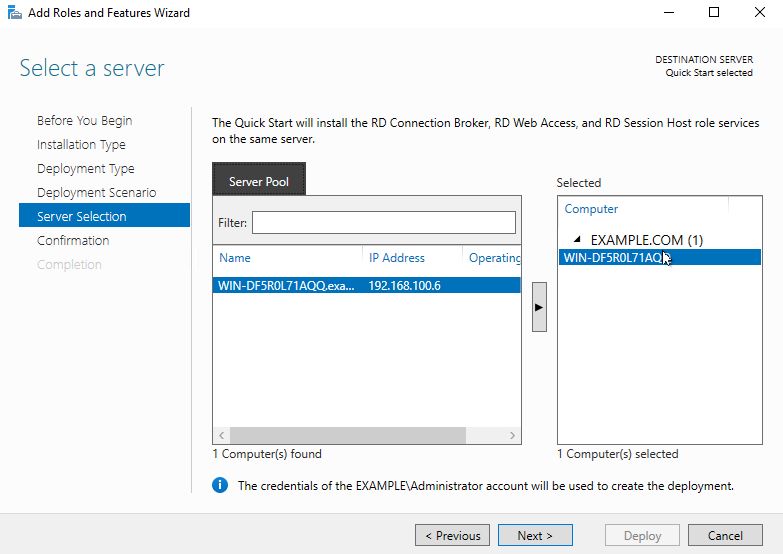
Select the local server for installation, allow automatic restart and give the ‘Deploy’ command.

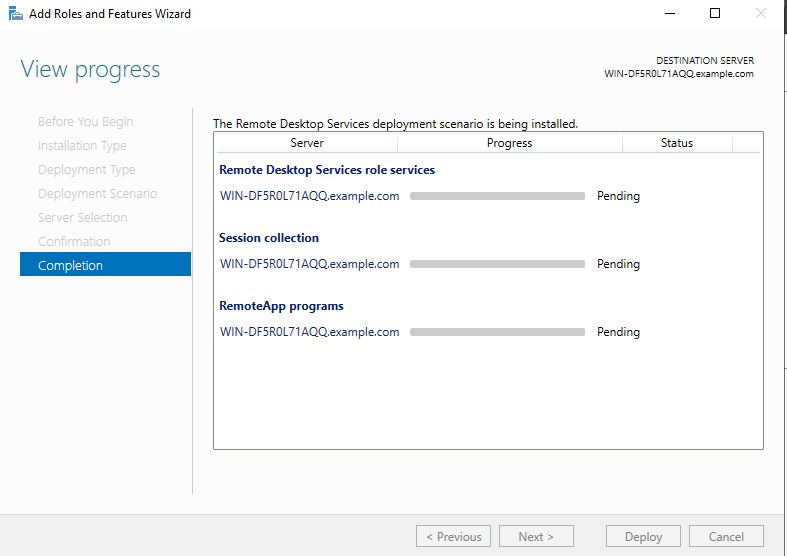
A window will open allowing you to view the progress of the component installation. The components will be restarted during the installation process. Ignore the message about the licensing period, we will configure the remote desktop licensing server.
After successful installation of the components, you should install the remote desktop licensing server.
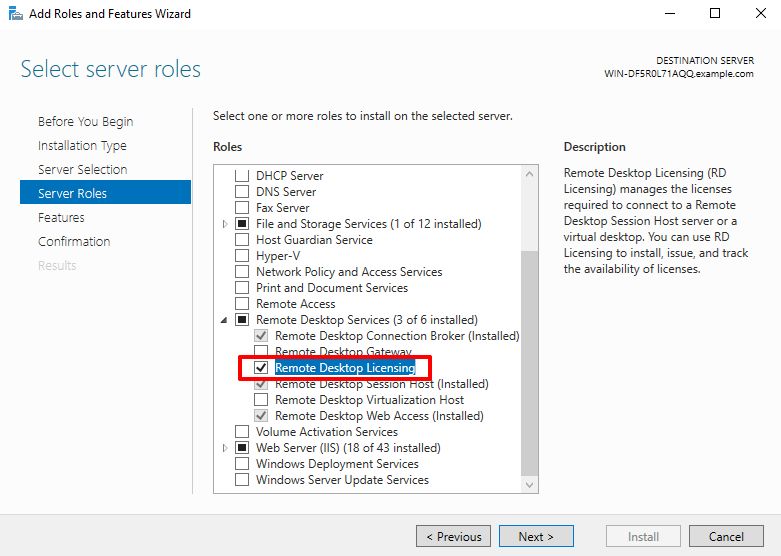
In the Add Roles and Features Wizard, select the installation type "Installing Roles and Components". In the "Remote Desktop Services" drop-down menu, select "Remote Desktop Licensing" and confirm the installation of the components for the selected services.
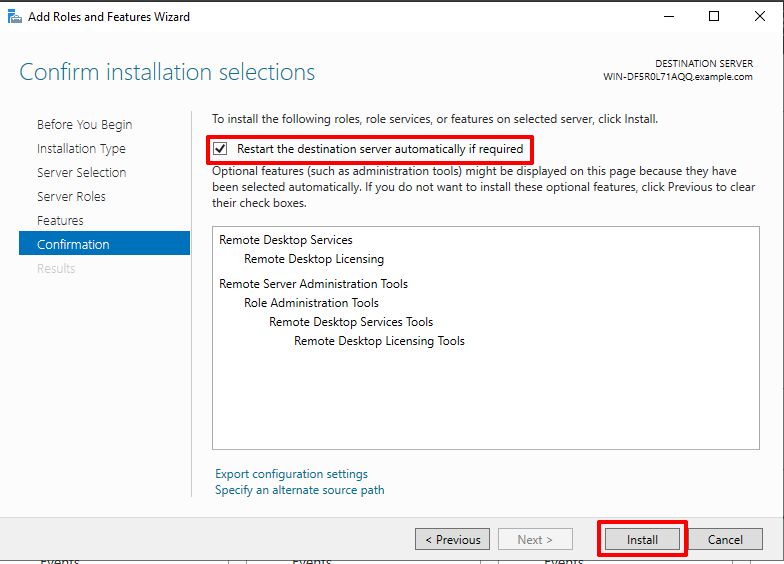
Confirm the installation of components.
Configuring Terminal Server Components
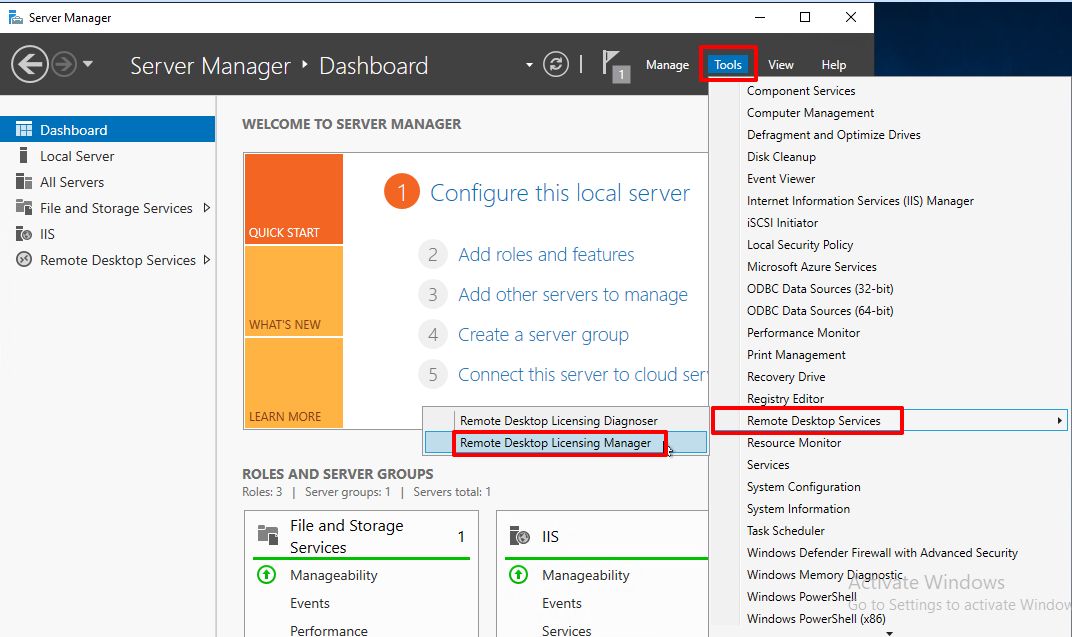
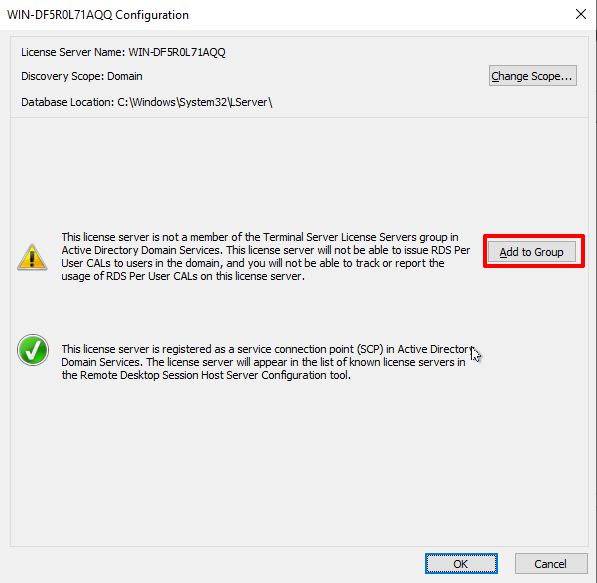
To work with the Terminal Server, you must configure the licensing of remote desktops. In Server Manager, go to the Tools menu - Remote Desktop Services - Remote Desktop Licensing Manager.
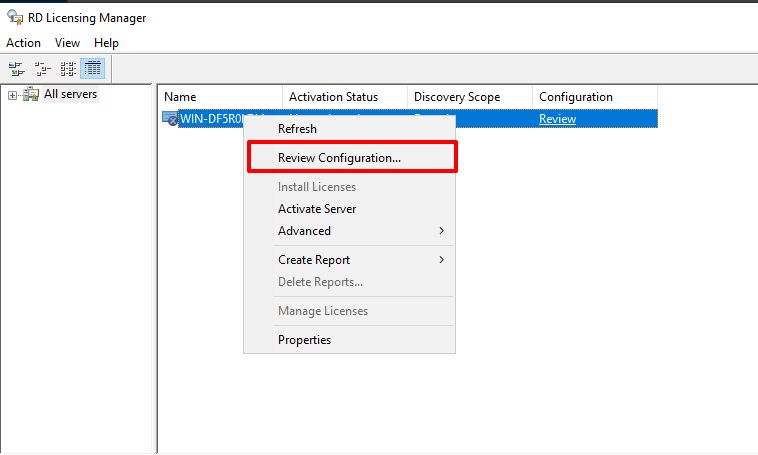
In the context menu select Review configuration. In the settings, click Add to group.

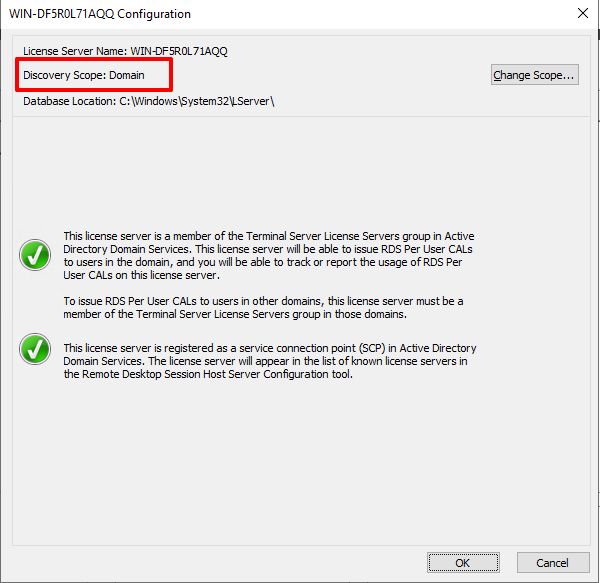
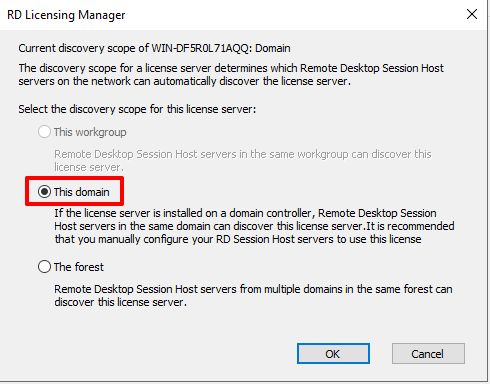
Also check the Domain detection area. If it is not, go to Licening Manager and select This domain.
The next step is to configure the licensing mode.
Open the local group policy editor gpedit.msc and go to the following path: "Computer Configuration" -> "Administrative Templates" -> "Windows Components" -> "Remote Desktop Services" -> "Remote Desktop Session Hub" -> "Licensing".
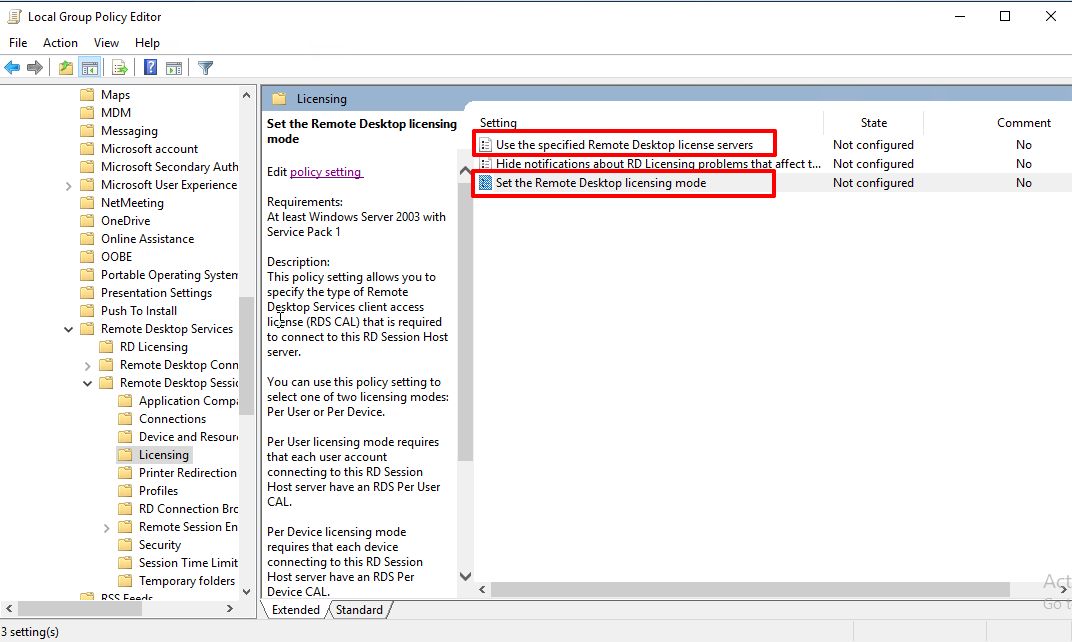
Change the following policy settings:
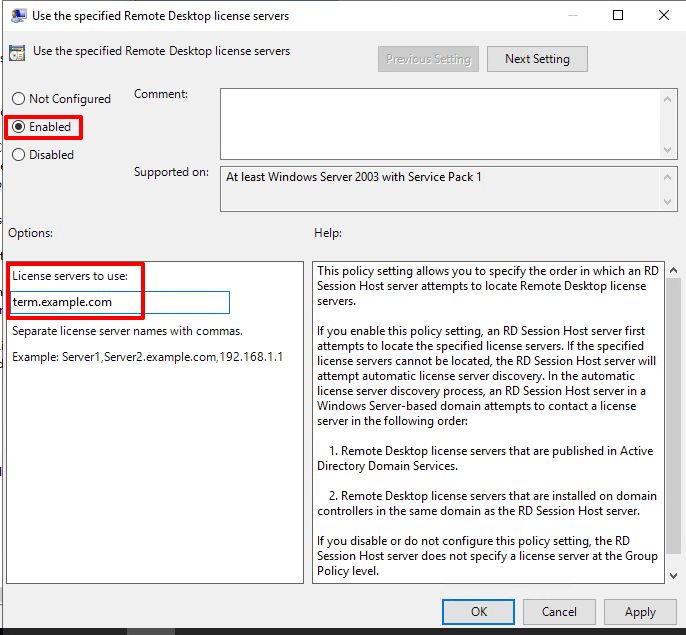
Use the specified license servers -> Enabled, in the field Use license servers to use specify the name of the licensing server
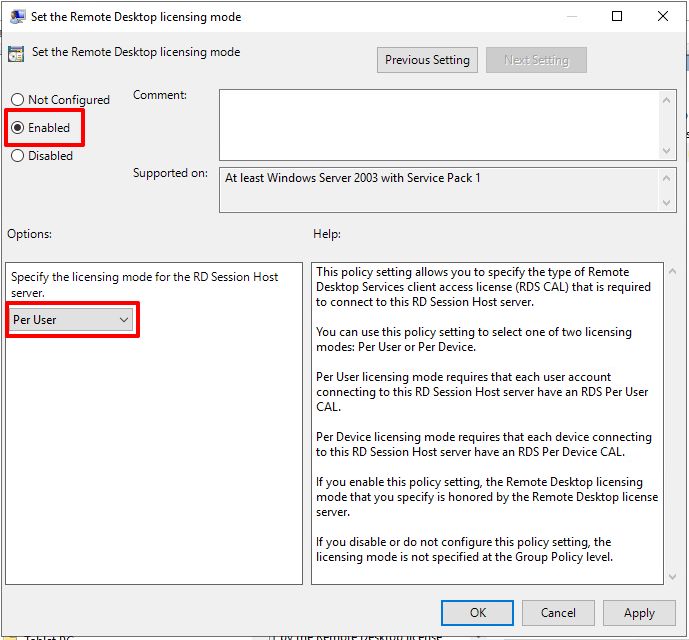
Set the Remote Desktop licensing mode -> Enabled, in the Set the Remote Desktop licensing mode select per user
Activate the licensing server.
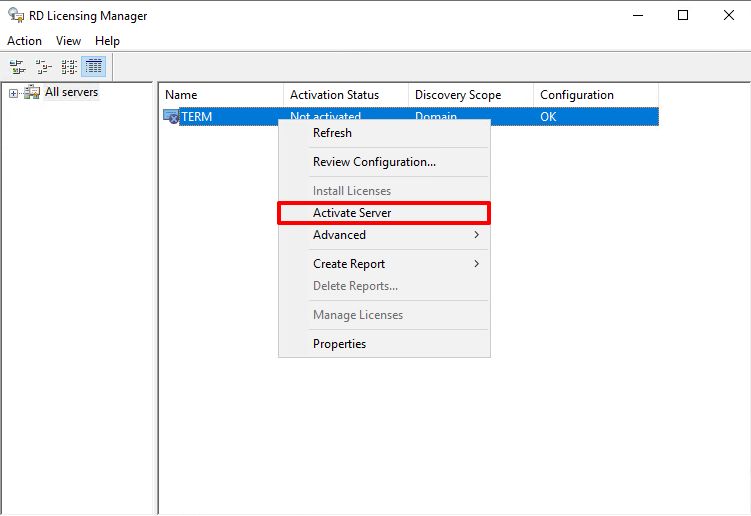
In Server Manager, go to the Tools menu - Remote Desktop Services - RD Licensing Manager. In the context menu select Activate server.
The Activation Wizard will open. Select Connection Method - Auto. For this, provide the Terminal Server with access to the Internet. If there is no such possibility, select Web browser or Phone. Then follow the instructions of the activation wizard and specify the actual data about the user.
If everything is done correctly, the server will receive the status "Activated". The Terminal Server is now installed and ready to use.
